
The Bazaar Guide: Beginner Tips for Stronger Builds
Use The Bazaar guide to build stronger boards, manage gold, win monster fights, and understand combat effects while pushing toward a full ten-win run.
Jump to
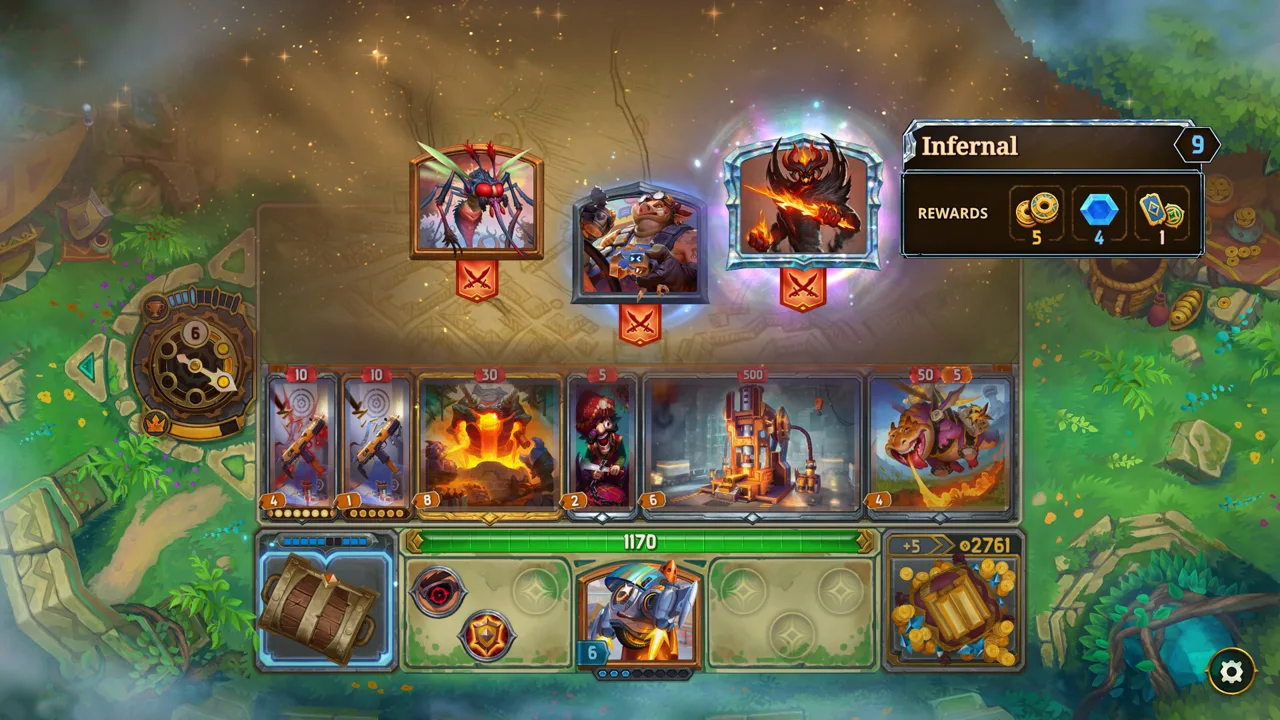
How to Play and Reach Ten Wins
Your next win starts with what you buy, keep, and arrange before combat. Those decisions protect your Prestige and give you more chances to finish a run. This The Bazaar guide walks you through building a useful early board, protecting your experience gains, and turning promising items into a working combo.
The Bazaar is a hero-building strategy game where you collect items and skills, arrange your equipment, and watch battles resolve automatically. Your preparation determines which effects activate, how quickly they fire, and whether your board can survive long enough to win.
A standard day follows this sequence:
- Choose two merchant or event encounters.
- Fight a PvE monster.
- Choose two more merchant or event encounters.
- Fight another player’s recorded board in asynchronous PvP.
The goal is 10 PvP victories. You begin with 20 Prestige, and a PvP loss costs Prestige equal to the current day. Losing on Day 1 costs one; losing on Day 10 costs 10. Winning early therefore helps you reach the finish before losses become more expensive.
The first time your Prestige reaches zero, a second-chance event offers a powerful reward and returns you to one Prestige. That rescue happens once per run.
Take your time between encounters. There is no real-time planning timer forcing you to rush purchases or board placement.
Official page: The Bazaar (playthebazaar.com)
Choose a Hero and Fill Your Early Board
Your hero shapes the items and synergies you encounter. Learn one hero’s pool before trying to memorize every possible combination.
| Hero | Defining mechanics |
|---|---|
| Vanessa | Weapons, ammo interactions, and offensive combinations |
| Pygmalien | Economy, item value, Properties, healing, and shielding |
| Dooley | Unique Cores that encourage different strategies |
| Mak | Item transformation and enchantment interactions |
| The Dragons | Tempo, timing effects, and Notes that provide matching items with 10% cooldown reduction |
With Dooley, read your Core before committing to purchases. Its effects help determine which supporting items contribute to your board. With The Dragons, check both item placement and Tempo generation: a payoff that spends Tempo needs enough generation to keep working.
During the opening days, buy items that improve your next fight. A functional weapon or defensive item can earn a victory while you wait for a more specialized combination.
Fill available board space with useful equipment. Small items occupy one slot, medium items occupy two, and large items occupy three. Compare the benefit of a large item against everything you would remove to fit it.
Read placement requirements before rearranging anything. “Adjacent,” “leftmost,” and “to the right” describe specific relationships. Moving a support item can disconnect the effect that made your main weapon effective.
Skills are passive effects that accumulate separately from your equipment. They do not consume board space, so include their bonuses when deciding which items to keep.
Protect Your XP by Winning Monster Fights
Monster encounters are a major source of experience, gold, and equipment. Losing one can leave you short of the level needed for more health, early board expansion, or stronger level-up rewards.

Choose the monster you can beat reliably. During the first several days, take the easier option when you cannot explain how your board defeats the harder opponent.
Before choosing a fight, inspect:
- Damage: Can you finish the encounter before the enemy’s scaling takes over?
- Defense: Does your healing or shielding answer the damage it deals?
- Disruption: Can Slow or Freeze delay your important activations?
- Rewards: Does the extra gold or experience justify the added risk?
Defeating a monster also awards an item or skill from its loadout. Consider the possible drops alongside the displayed gold and XP, especially when an opponent carries something that would complete your build.
Take experience rewards seriously at events. Early levels expand your board, while later rewards include opportunities such as the level 10 enchantment. Extra maximum health from leveling also gives your items more time to activate.
Some event choices depend on item tags. Keeping a Friend, Food, or Toy can reveal an additional option at certain encounters. Read the choices before selling a tagged item you have been carrying.
An XP reward still needs context. If your board is too weak to win the upcoming monster fight, buy the equipment that helps secure that fight rather than passing every shop for experience.
Spend Gold on Specific Improvements
Enter a shop with a purchase in mind. Identify whether you need damage, defense, reload support, faster activations, or a particular item category.
 Image: Steam / Tempo
When your board is struggling, prioritize merchants that can address the weakness. When it already works, compare another shopping trip against experience, enchantments, and event rewards.
Before entering, check your gold and the reroll cost. Spending your remaining money to refresh a shop leaves you unable to buy whatever appears next.
Specialized merchants can make targeted rerolls useful. Their narrower pools give you a more focused search, and items from the first selection do not reappear in that encounter’s rerolled selection. Use that opportunity when you can afford both the reroll and the item you want.
Compare cooldowns alongside printed damage. A weapon dealing five damage every five seconds produces one damage per second before other effects. That number does not account for support effects, ammo, or damage gained during combat.
Check those interactions before buying:
- Does the item trigger a skill you already own?
- Does it activate often enough to support your carry?
- Does it require ammo or a reload effect?
- Does it occupy space needed by a stronger combination?
- Does its sale effect provide a useful upgrade?
Higher rarity alone does not answer those questions. Buy the item that improves the board you can actually assemble.
Put Your Stash to Work
Your stash has 10 slots. Use them for equipment that provides value outside combat, possible replacements, and items with useful sale effects.
Several kinds of items deserve consideration:
- Start-of-day generators: Items that produce resources or equipment.
- Economy items: Equipment that gains value or rewards merchant visits.
- Conditional event items: Tags that open additional encounter choices.
- Possible build pieces: A strong item waiting for its required support.
- Enchanted equipment: An enchantment worth preserving for a transformation opportunity.
Read each effect’s wording. Many economy and start-of-day effects work from the stash, allowing you to reserve combat space for active equipment.
Leave room before a new day when you expect generated items. A completely full stash can prevent you from receiving them.
Review speculative purchases regularly. If an item needs several missing pieces and you have found a different working strategy, sell it when the gold or space helps more. Keeping every possible pivot makes it harder to carry items with an immediate purpose.
Understand Damage, Defense, and Item Speed
Combat becomes easier to read once you separate direct hits, damage over time, and the effects that control activation speed.
| Mechanic | How it works | What to watch |
|---|---|---|
| Weapon damage | Deals damage when the weapon activates | Cooldown, ammo, critical chance, and damage scaling |
| Burn | Ticks twice per second and loses one stack per tick | Repeated applications keep the stack growing |
| Poison | Ticks once per second, bypasses Shield, and does not decay from ticking | Whether the opponent can heal through the damage |
| Shield | Absorbs incoming damage and can accumulate above your health total | Whether it arrives before a dangerous hit |
| Heal | Restores health up to maximum health; each heal removes one Burn and one Poison stack | Timing and how much healing is wasted at full health |
| Regen | Restores health passively each second | Its contribution relative to incoming damage |
Shield also halves Burn damage while any Shield is present. Poison bypasses Shield entirely, making it a direct threat to boards that accumulate Shield without enough healing.
Use that distinction when evaluating a loss. Adding more Shield will not solve a Poison problem by itself. Likewise, a slow damage-over-time board needs enough survival to let its stacks matter.
Long fights eventually reach the Sandstorm, which deals escalating damage to both sides. Build toward a way to finish the opponent instead of relying entirely on defense.
Haste, Slow, Freeze, and Charge
These effects change how quickly your items contribute:
- Haste makes an item’s cooldown progress at twice its normal rate.
- Slow counters that acceleration; an item affected by both Haste and Slow returns to normal cooldown progress.
- Freeze stops normal cooldown progress and prevents activation.
- Charge advances an item’s cooldown by a specified amount.
Speed effects can improve several connected parts of a build at once. If a fast item triggers damage growth elsewhere, accelerating it also accelerates that growth. Slow and Freeze can interrupt the same chain on the opposing board.
For ammo weapons, inspect what happens after the opening shots. A fast weapon that empties its ammo needs reload support to keep contributing through a longer fight.
Build Around a Carry and Diagnose Its Weakness
Identify the item doing the heavy lifting. Then give each supporting slot a job.
A carry might be a weapon with growing damage, an item that repeatedly applies Poison, or an effect that converts item value into healing. Its support should help it activate, scale, or survive.
Build outward in this order:
- Identify the win condition. Decide which item or interaction will defeat the opponent.
- Supply its triggers. Add the item uses, tags, or resources its text requires.
- Improve its activation rate. Add compatible cooldown reduction, Haste, or Charge.
- Cover its survival needs. Add defense that buys enough time for the plan.
- Replace weak filler. Remove items that contribute little to the working combination.
For a weapon-focused board, repeated attacks can multiply the value of flat damage bonuses. For a value-based Pygmalien board, increasing item value can strengthen effects that explicitly scale from that value. Follow the wording rather than assuming every upgrade benefits every item.
Use the combat recap after a loss. Look for the specific failure:
- Your carry activated too late.
- Ammo ran out before the opponent died.
- Freeze disabled the item that held the build together.
- Poison bypassed your Shield.
- Your damage stopped growing while the opponent’s defense kept scaling.
Make the next purchase answer that failure. Adding another unrelated damage item will not restore an empty weapon’s ammo or protect a carry from disruption.
Enchantments can change an item’s role by adding effects such as Poison, Burn, or Shield. Read the resulting item carefully before rebuilding around it. Mak’s Catalyst can transform enchanted equipment while preserving its enchantment; transformation also preserves item size, so account for the board space the replacement needs.
Account for Patch 20.0’s Encounter and Item Changes
The November 4, 2026, Patch 20.0: Tiny World Expedition update adds new routes through a run and changes several familiar purchases.
Keep these encounter details in mind:
- Tiny World requires a Tiny World Expedition Ticket.
- Partner Portal can appear on Days 1 to 5, and Partner Skills provide a 50% discount on items from that Hero.
- Thieves Guild is accessible only through a Thieves Guild Medallion.
Travel Agent can offer a Tiny World Expedition ticket. Its “Surprise Me” option costs 6 Gold and awards a random ticket. Choose a specific ticket when your plan depends on reaching a particular expedition.
After selecting a partner, you can encounter a different Partner Portal that upgrades items from that Hero. Include the discount and upgrade opportunity when deciding whether those purchases fit your run.
Several sale effects now reward immediate combat preparation:
- Magnifying Glass: Selling it gives your items +5/10/20/40 Damage and +1/2/4/8 Burn for the day.
- Rune Axe: Selling it grants your leftmost Weapon Lifesteal for the day.
- Makeshift Barricade: Selling it gives your Slow items +1 Slow duration for the day.
Use those temporary bonuses on a day when they can help secure a needed fight. Read the duration before selling; these effects no longer provide the same permanent upgrades as their older versions.
Salvage Yard also works differently: it produces loot based on what you sell instead of transforming items in your stash. Plan the sale around that reward, and preserve enchanted stash items you intend to transform elsewhere.
Continue with
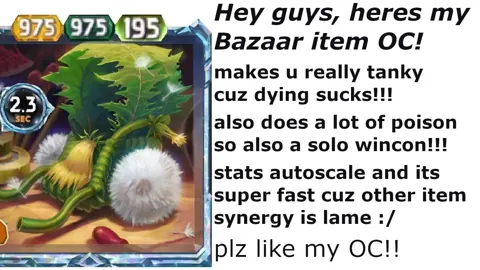 The Bazaar Level Up Rewards: Key Choices and UpgradesExplore The Bazaar level up rewards, from early skills to enchantments and Diamond upgrades. Plan XP gains and choose rewards that strengthen your build.
Continue exploring
The Bazaar Reddit: Find Builds, Tips, and Patch Help
Find The Bazaar reddit community, ask clearer build questions, and spot outdated advice with practical tips for Vanessa, item synergies, and patch changes.
The Bazaar DB Guide: Find Items, Stats, and Synergies
Use The Bazaar db to filter items by hero, tier, and size, compare patch changes, and understand triggers, stash rules, and synergies before your next run.
Join the community
Official channels for news, updates and player help: